Top Tips from the Rookie Handbook—The Pro's Guide to Painter's Tape
The top tape tips for beginner pro painters. From prep to application to removal, explore expert advice to help you grow in your painting career.
Top Tips: The Pro’s Guide to Painter’s Tape
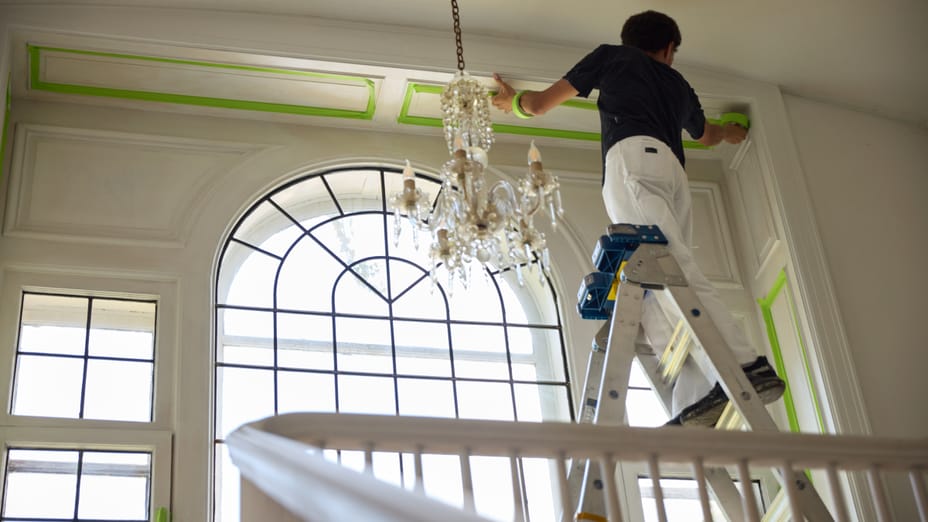
Painting a house is a craft that requires precision and an eye for detail. Luckily, there's a handy tool that can make the job easier and aid you in achieving those perfectly crisp lines. Essential for any toolkit, painter’s tape can make a world of difference, whether you’re a seasoned pro or just starting your painting career. So, let's explore some expert tips to help you make the most of painter’s tape and impress any homeowner.
Before you think about pulling out your roll of painter’s tape, you need to prep your surface. Proper surface preparation is like priming your canvas—it ensures the tape sticks properly and does its job correctly. Here’s how to get started:
Clean the Surface Taking the time to clean your surface is one of the most underrated steps for maximizing the benefits of painter’s tape. Grab a damp sponge and wipe away any dust, dirt or debris, as these can significantly interfere with the tape's adhesive properties.
Use a Microfiber Cloth After the initial wipe down, use a microfiber cloth to get rid of any remaining dirt. These cloths are great because they don’t leave any lint behind.
Tip:
If your surface is textured or has imperfections, a light sanding can aid in achieving smoother application and better adhesion. Gently sanding your wall before cleaning will help the tape stick much better.
Choose the Right Tape Width
Now that your surface is prepped and ready, it's time to choose the right width of tape for your project. The width of your tape can simplify the painting process and make a big difference in your results. But how do you pick the correct size?
One-Inch Tape for Details For those intricate details and fine lines, a narrower tape (about 1 in.) is your best bet. It’s easier to maneuver and ideal for detailed work.
Wider Tape for Larger Areas If you're tackling a bigger surface or need to secure drop cloths, go for a wider tape. It covers more area and gives you more room to work, especially if you use paint rollers. Moreover, if you're new to painting and more prone to making mistakes, a wider tape offers a bigger safety net for any mess-ups!
Insider Tips for Crisp, Clean Lines
To achieve those coveted sharp lines, here are some insider tips that can make all the difference. These tricks for taping before painting will help you make the most of your painter’s tape and avoid common pitfalls:
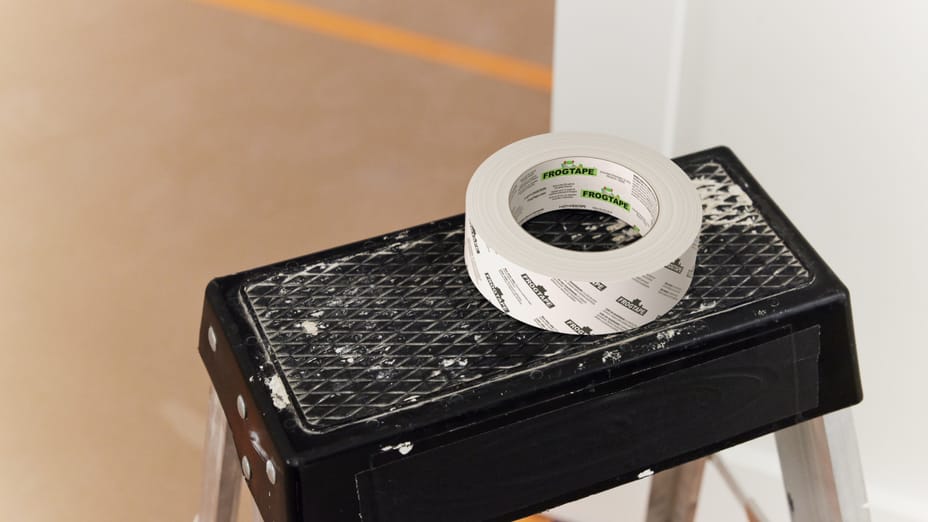
Use FrogTape® Painter's Tapes FrogTape® brand painter's tapes are a favorite among pros for a reason. Our PaintBlock® Technology helps create razor-sharp lines by preventing paint bleed.
Burnish for Better Adhesion When you’re taping off for painting, you need to make sure your tape is firmly stuck to the surface by burnishing it. You can use something as simple as a credit card to press the tape down securely.
Pre-Moisten the Tape Dampen a towel or sponge and run it along the edge of the tape. This activates the PaintBlock® Technology in FrogTape®, giving you even sharper lines.
Avoid Overloading When you start painting, be mindful not to soak the tape with paint. Apply it evenly and avoid too much paint near the tape edge to prevent seepage.
Preventing Tape Lifting or Curling
Nothing's more frustrating than your tape lifting or curling while you’re painting. To keep your tape in place, follow these guidelines:
Mind the Temperature Extreme temperatures or high humidity can affect the tape’s adhesion. Try to paint in moderate conditions for the best results. While you don’t always have a choice in a professional setting, you can use fans or a dehumidifier to help the paint dry quickly and correctly.
Don’t Stretch the Tape Stretching the tape as you apply it can cause it to lift. Keep it relaxed for a better stick.
Ensure Clean and Dry Surfaces Always double-check that your surface is clean and dry before taping. Any moisture or dirt can compromise the adhesive.
How to Remove Painter’s Tape
Once your paint job is done, it’s time to reveal those perfect lines. The removal process is just as crucial as the application—and doing it right can prevent a lot of frustration.
Slow and Steady
Remove the tape by pulling it at a 45-degree angle slowly and steadily. If needed, use a razor blade to score any paint bridges.
When to Remove Painter’s Tape
When you remove the tape can be just as important as how you remove it. Timing it right ensures you get the best possible results:
Slightly Tacky Paint
Don’t wait too long! The best time to remove painter’s tape is when the paint is still slightly tacky. This helps prevent the tape from pulling off the dried paint.
By following these tips, you’ll be well on your way to achieving those professional, crisp lines that will make every customer satisfied. But you shouldn’t stop here. Check out the Rookie Painter’s Handbook, a guide specially crafted to help rookie painters on their growth journey, to take your painting skills to the next level.
Discover expert strategies for attracting high-end clients and delivering exceptional luxury property services. Improve your reputation with professionalism and premium tools like FrogTape® Painter's Tape.
Learn how to grow your painting business by generating word-of-mouth referrals. Discover tips on how to run a successful painting business with these strategies!