Pro painter's tips and product recommendations for taping tough and textured surfaces like brick, stucco, heavy-grained wood and textured walls.
While taping and painting a smooth wall may feel like second nature, surfaces like brick, stucco, heavy-grained wood and textured walls—orange peel, knockdown, popcorn, etc.—are more challenging due to tape adhesion issues.
Although a bit more difficult, if you use correct preparation and taping techniques, you can still get clean lines that will impress your clients. Let’s get into how to properly prep and tape these tough surfaces to uphold your reputation and earn those five-star reviews.
Taping Brick and Stucco
Brick and stucco are both porous and uneven, sometimes making it difficult for tape to adhere properly. Here’s how to tackle this challenge.
Preparation:
Clean Thoroughly: Use a brush and mild soap to remove dust, dirt and debris. Rinse and let the surface dry completely.
Check for Stability: Make sure the wall is in good condition with no loose or crumbling sections.
Taping Tips:
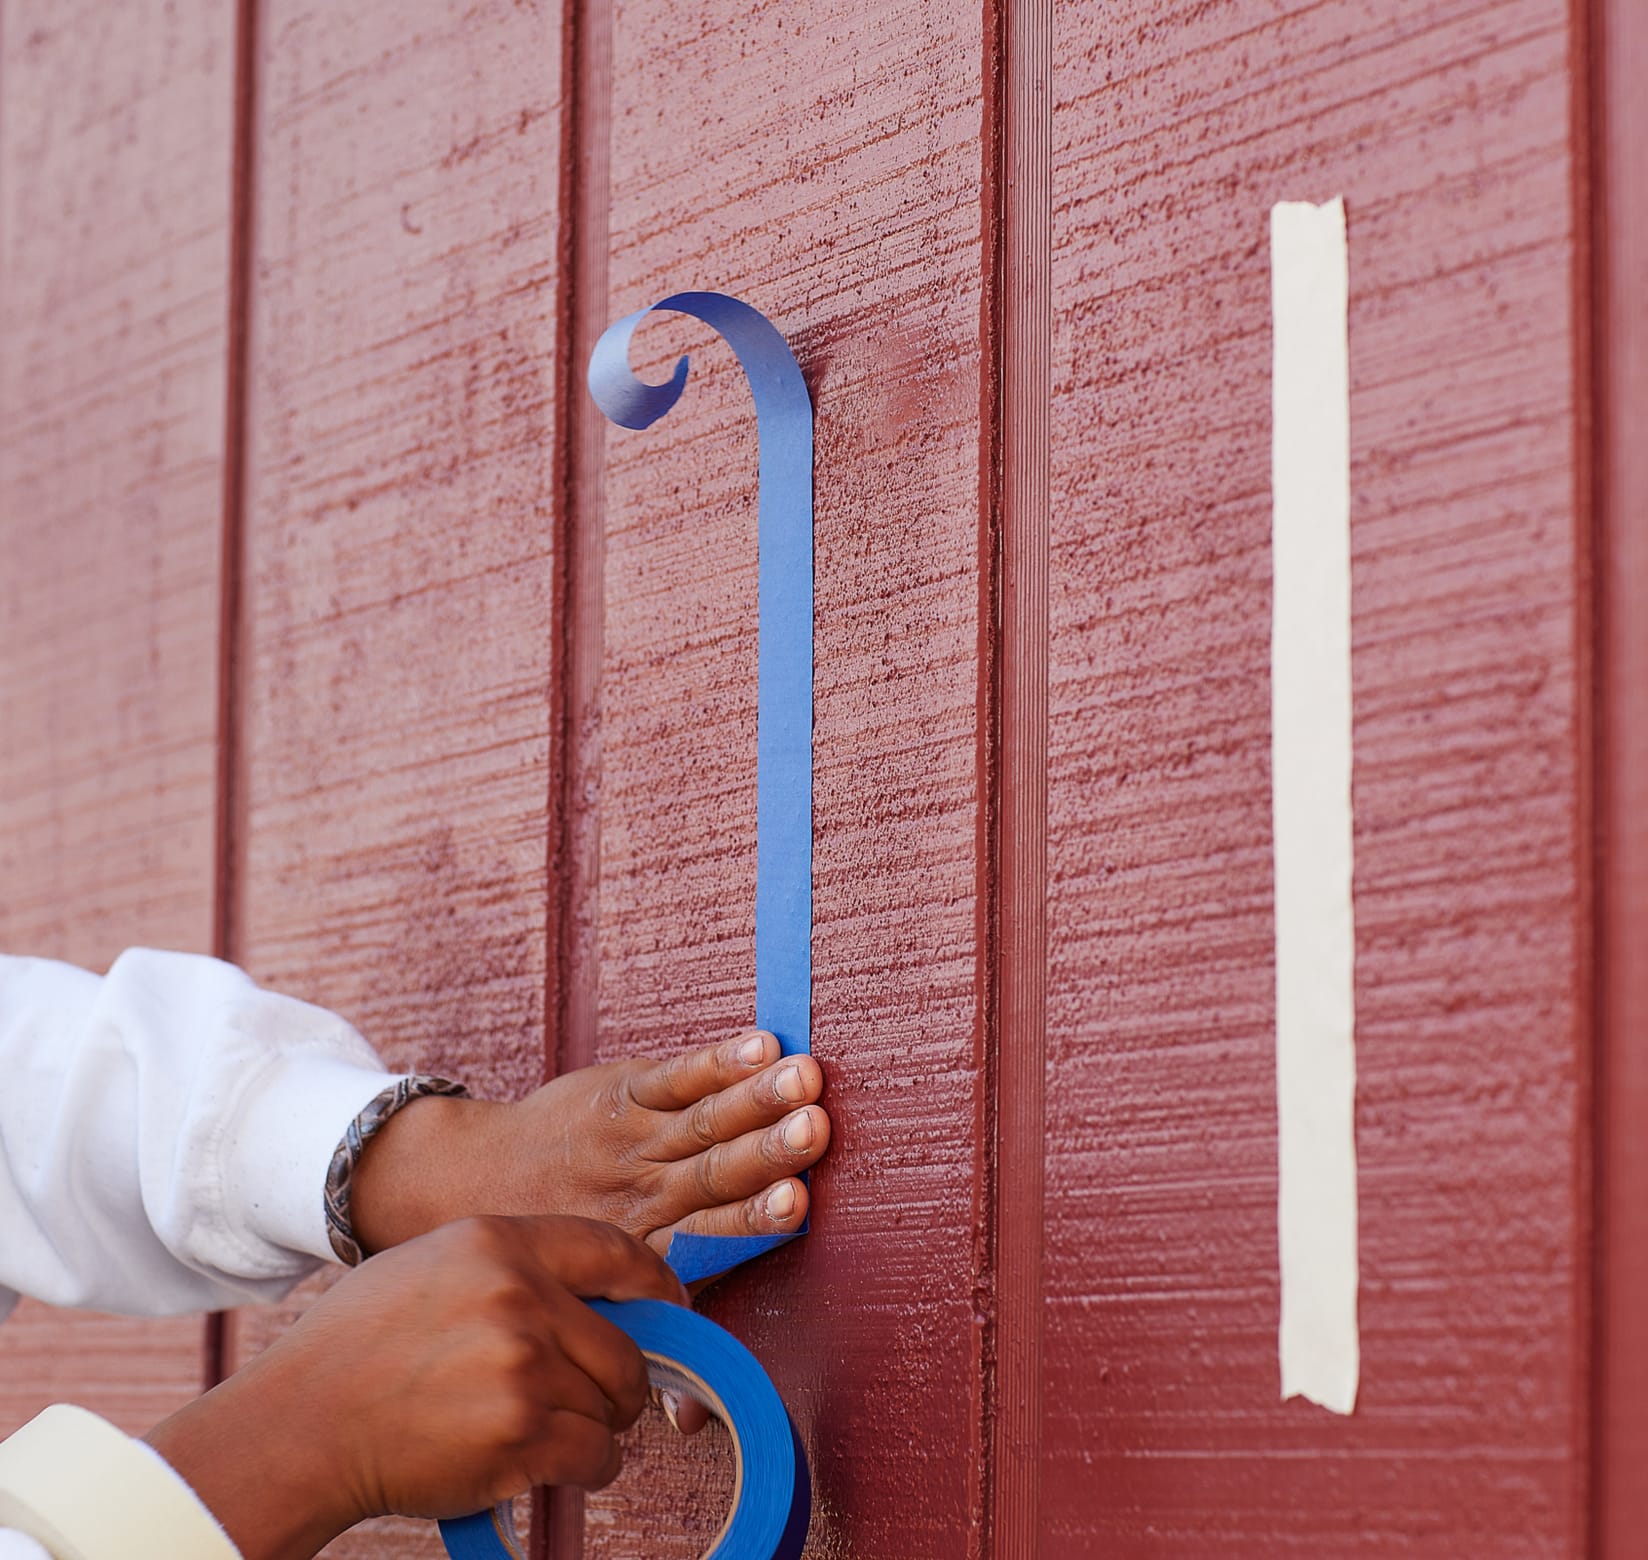
Use FrogTape®Pro Grade Orange Painter’s Tape®: Opt for a high-adhesive tape that’s designed to stick to rough surfaces like brick, stucco and concrete. It’s one of the best options if you need tape that sticks to brick walls.
Press Firmly: Apply pressure along the tape’s edges using a putty knife or similar tool to ensure it adheres well to the uneven surface.
Seal the Edges: For even more assurance, apply a thin bead of clear caulk along the edge of the tape and smooth it out. This helps prevent paint bleed and ensures a crisp line.
Taping Heavy-Grained Wood
Heavy-grained wood can be tricky due to its uneven and absorbent texture. Here’s how to go about navigating this task.
Preparation:
Sand Lightly: If the wood you’re working on is unfinished, lightly sand the surface to smooth out any rough spots or splinters. Wipe away dust with a damp cloth and let dry.
Prime if Necessary: If it is highly absorbent, consider applying a primer to create a more even surface.
Taping Tips:
Use FrogTape® Delicate or Multi-Surface Painter’s Tape: While both tapes are treated with PaintBlock Technology to prevent paint bleed, they serve different purposes. The one you should choose is dependent on whether the wood is finished or unfinished. If it’s finished, FrogTape Delicate Surface Painter’s Tape is the safest option. Despite its name, this tape holds firm to wood, but is gentle enough to avoid damaging its surface.
However, if the wood you’re working on is unfinished, FrogTape® Multi-Surface Painter’s Tape is ideal. Designed with medium adhesion, this tape will hold strong to help you achieve perfect lines.
Apply Firm Pressure: Press the tape down along the grain using a putty knife to ensure a tight seal.
Seal Edges: After applying, paint a thin strip along the edge and let it dry. This helps seal the wood fibers and prevents paint from bleeding under the tape. If you’re using FrogTape, run a damp rag over the tape’s edge instead. This extra step helps activate its PaintBlock Technology, sealing the tape's edge.
Taping Textured Walls
Walls that have grooves, bumps and ridges make taping a challenge. Proper technique is important for achieving clean paint lines. Here are some prep tips for painting textured surfaces.
Preparation:
Clean the Surface: Gently dust the surface to remove loose particles.
Check Stability: Double check that the texture is not flaking off.
Taping Tips:
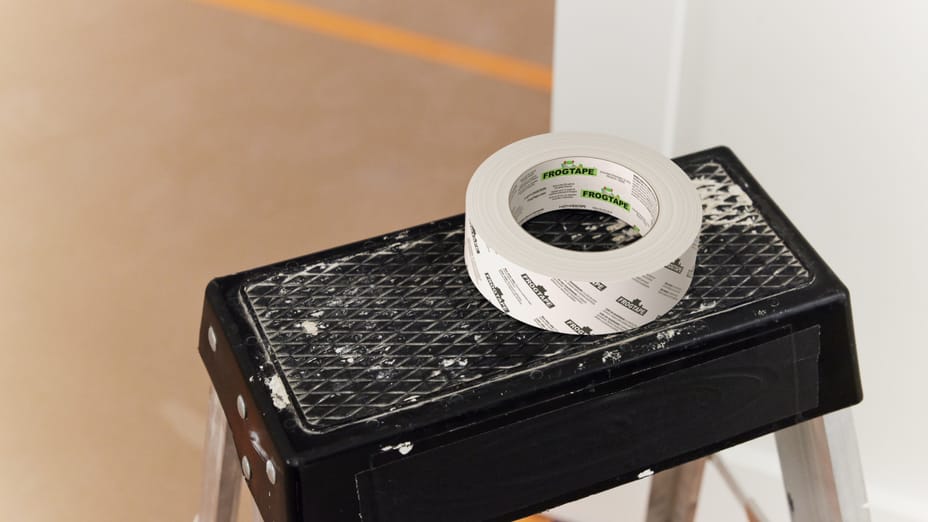
Use FrogTape Multi-Surface Painter’s Tape: Unlike other traditional painter’s tapes, this tape is treated with PaintBlock Technology that seals the tape edges and creates a barrier against paint bleed.
Burnish Thoroughly: Use a putty knife to press the tape into the texture. By doing this, you’re ensuring it adheres to all the bumps and grooves.
Heat the Tape: Heating the tape during application with a hairdryer or heat gun can help it conform to the wall.
Caulk Your Edges: For the best results on textured surfaces, pairing FrogTape Multi-Surface Painter’s Tape with a little caulk can make all the difference. Use a caulk gun to apply a thin line of clear latex caulking along the edge of the tape; smooth it out with your finger. This extra step activates the PaintBlock Technology, securing the tape's seal. Complete painting and remove the tape before the caulking dries to avoid paint pulling away with the tape.
Pro Tips for All Tough Surfaces
Test First: Always test your tape and technique on a small, inconspicuous area first to make sure it works as expected.
Remove Tape Carefully: To avoid peeling paint or leaving residue, remove the tape at a 45-degree angle while the paint is still slightly wet.
Use Quality Tools: Invest in high-quality tools such as FrogTape and a putty knife to help press the tape down and achieve a tight seal.
Be Patient: Take your time during prep and application for the best possible results.
By following these tips, you can overcome the challenges of using painter’s tape for rough surfaces like brick, stucco, heavy-grained wood and textured walls, achieving a professional finish every time.
Interested in learning more? Check out all of the FrogTape products to find the best solution for your next job.
Discover expert strategies for attracting high-end clients and delivering exceptional luxury property services. Improve your reputation with professionalism and premium tools like FrogTape® Painter's Tape.
Learn how to grow your painting business by generating word-of-mouth referrals. Discover tips on how to run a successful painting business with these strategies!