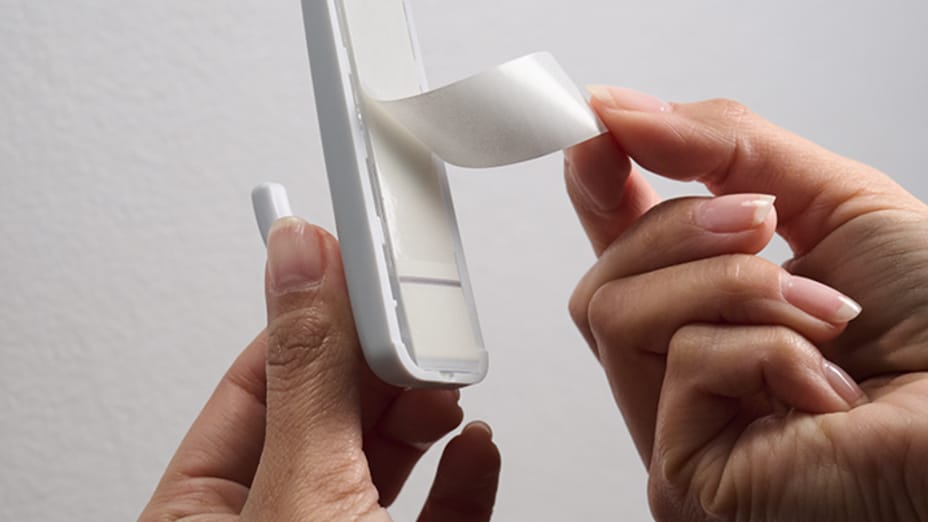
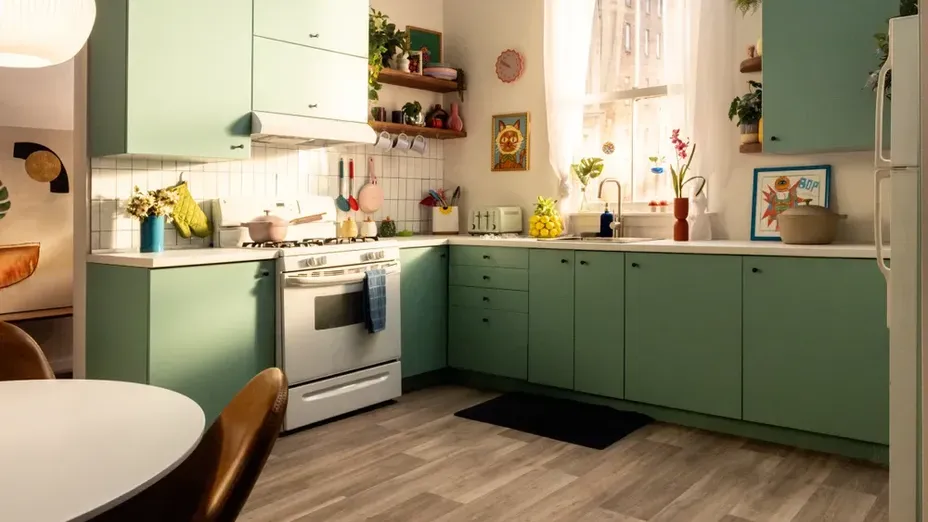
I’m a
who wants to see products and inspiration

DIY Office Focal Wall

With a few coats of paint and a lot of stripes, Kayla from, @homediyary, created a mural focal wall in her office.

Check out her step-by-step project below!

Trendy Room with Striped Line Mural on wall

Supplies Needed

  • Kayla Nelson Measuring a wall
    1

    Create Grid

    Measure the length of your wall and determine how many equal columns you need to create. 

  • Kayla Nelson Using a level to mark off even straight lines
    2

    Level or laser

    Create straight vertical lines. I made my columns 7 in. wide.

  • Kayla Nelson Taping Vertical stripes of Green FrogTape Multi-Surface Painter's Tape on a wall
    3

    Tape off the Stripes

    Use FrogTape® Multi-Surface Painter's Tape to tape every other column.

  • Kayla Nelson Painting a wall
    4

    Paint the Base

    Apply your base color in the section.

  • 5

    Add the Rows

    Wait 24 hours and begin applying your horizontal rows.

    Pro Tip: I used the tape as a spacer and also used FrogTape® Delicate Surface Painter's Tape on the freshly painter surface.

  • Kayla Nelson Taping off sections of her Mural with Yello FrogTape Delicate Surface Painter's Tape
    6

    Seal the Tape

    Run your finger along the edges and then wait for the paint to set.

  • Sarah Nelson removing Yellow FrogTape Delicate Surface Painter's Tape from the wall.
    7

    Remove Tape

    Remove the FrogTape® to reveal the design.

More ideas like this